QEMU+KVM & Virtual Machine Manager on Linux Host
Quick guide to setup QEMU and virt-manager to start playing with VM.

What is QEMU, KVM & Virtual Machine Manager?
Check out QEMU Documentation and Virtual Machine Manager
Quick Emulator (QEMU) is an open source virtualization and emulation tool, QEMU can emulate the hardware like CPU, memory, networks, and other devices. by using QEMU you can start deplyoying as much Virtual Machines (VMs) as you want.
Kernel based Virtual Machine (KVM) is an virtualization technology for Linux OS that function as hypervisor enabling multiple creation of VMs.
Virtual Machine Manager (VMM) is a desktop graphical user interface (GUI) for managing VMs
So in short, QEMU will use KVM and you as the user interact with the VMs through VMM.
Why Use QEMU/KVM+VMM Instead of Virtualbox or VMWare Workstation?
SPEED!!!
With KVM, this turns the Linux Kernel into a Type-1 hypervisor, why this matter?
With Type-1 hypervisor, the hypervisor can directly access the resources (hardware) of Host OS (in this case our Laptop/PC). Type-2 hypervisor on the other hand runs as an application and need talk with the Host OS, then the Host OS manage the resources.
Learn more detailed Information AWS Type 1 VS Type 2 Hypervisors
Quick Setup for QEMU & Virtual Machine Manager
Check out Linux Mint HERE and Linux Mint Debian Edition HERE
This guide uses Linux Mint Debian Edition (LMDE) as the Host OS. Below are the steps to install QEMU and Virtual Machine Manager (VMM)
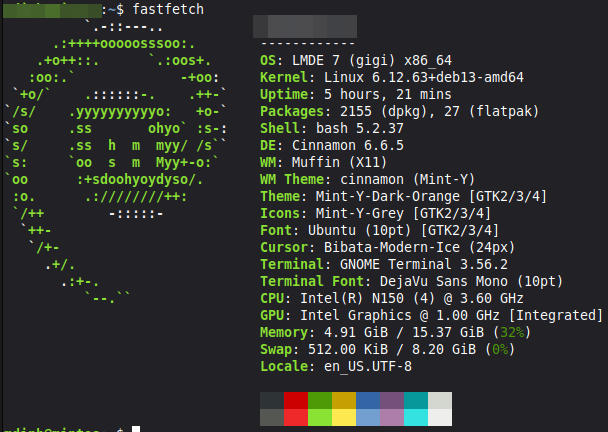 Host OS Fastfetch
Update Your Package Manager
1
sudo apt update
This command refreshes your local package list with the latest available version from the repo.
Install QEMU and VMM
Check out QEMU Installation HERE and Virtual Machine Manager (VMM) Installation HERE
1
sudo apt install qemu-system virt-manager
This command installs QEMU and Virtual Machine Manager (VMM)
That’s It!
After installing qemu-system and virt-manager, you can start using the virtual machine manager and deploy your own VMs!
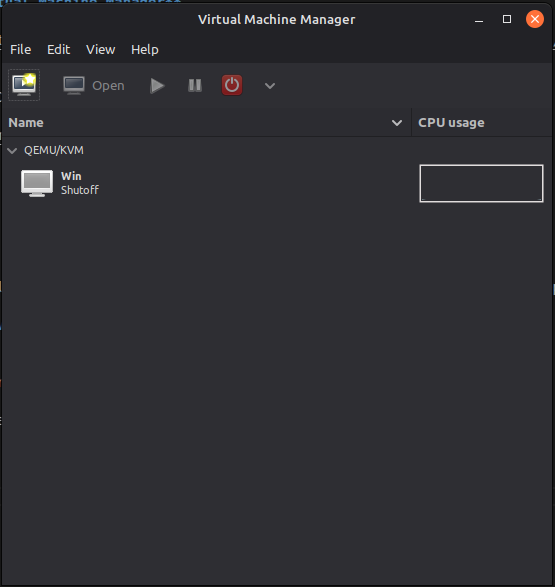 VMM GUI
Deploying Your First VM
Deployingg VM in QEMU/VMM is pretty straight forward, first just click the “Create a New virtual Machine” button top left of the VMM GUI.
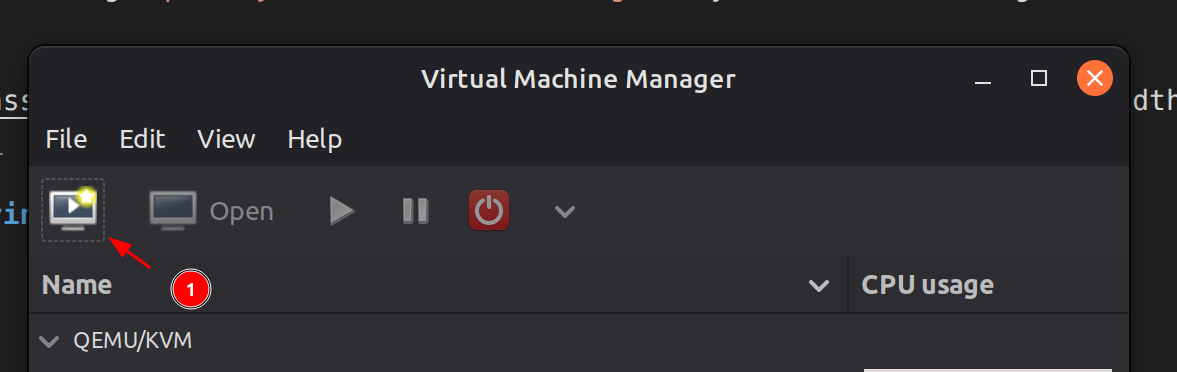 Create a New Virtual Machine
After clicking that, there will be a new window pop up with a step by step instruction on how you want to deploy your VM, what OS the VM gonna be and what the specification of the VM you want.
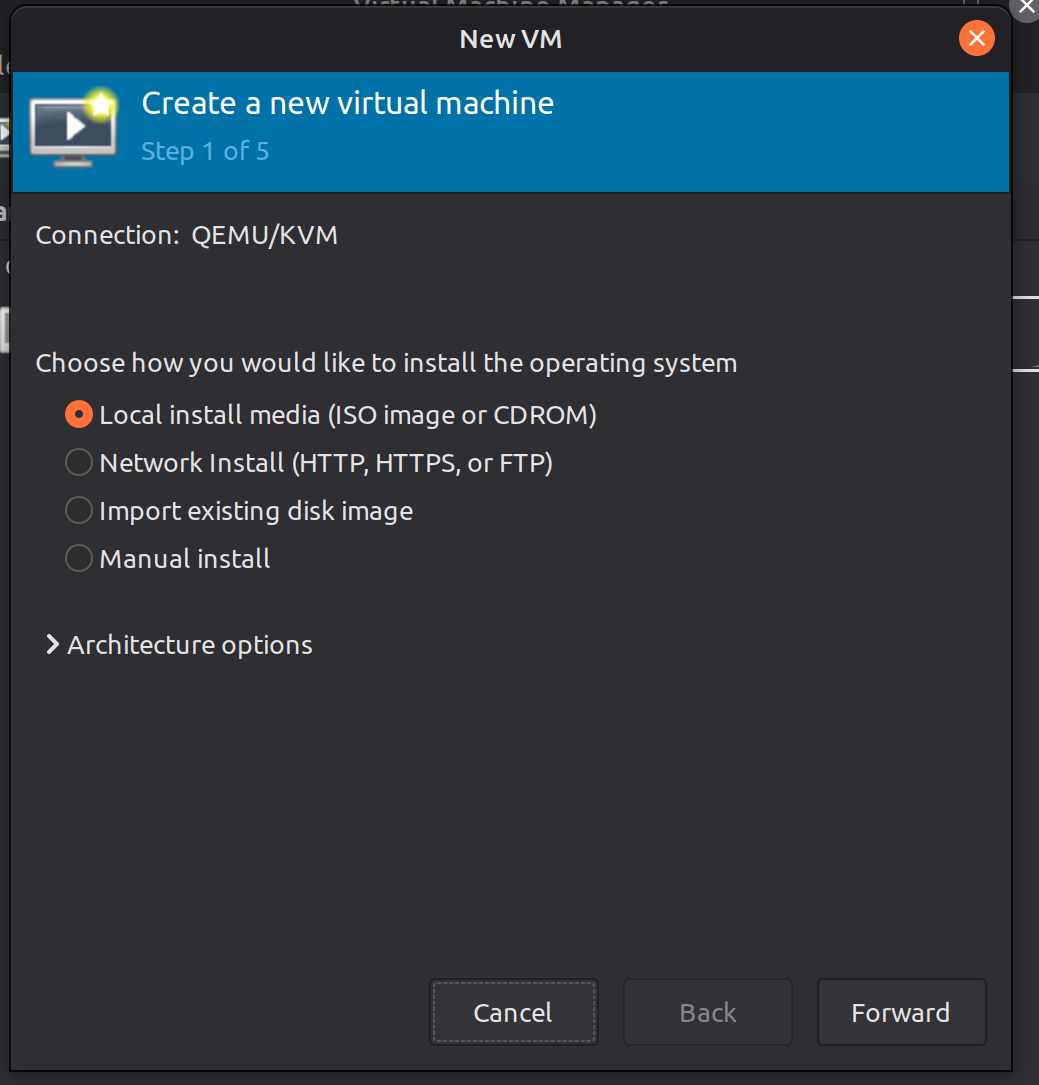 Choosing Install Media Source
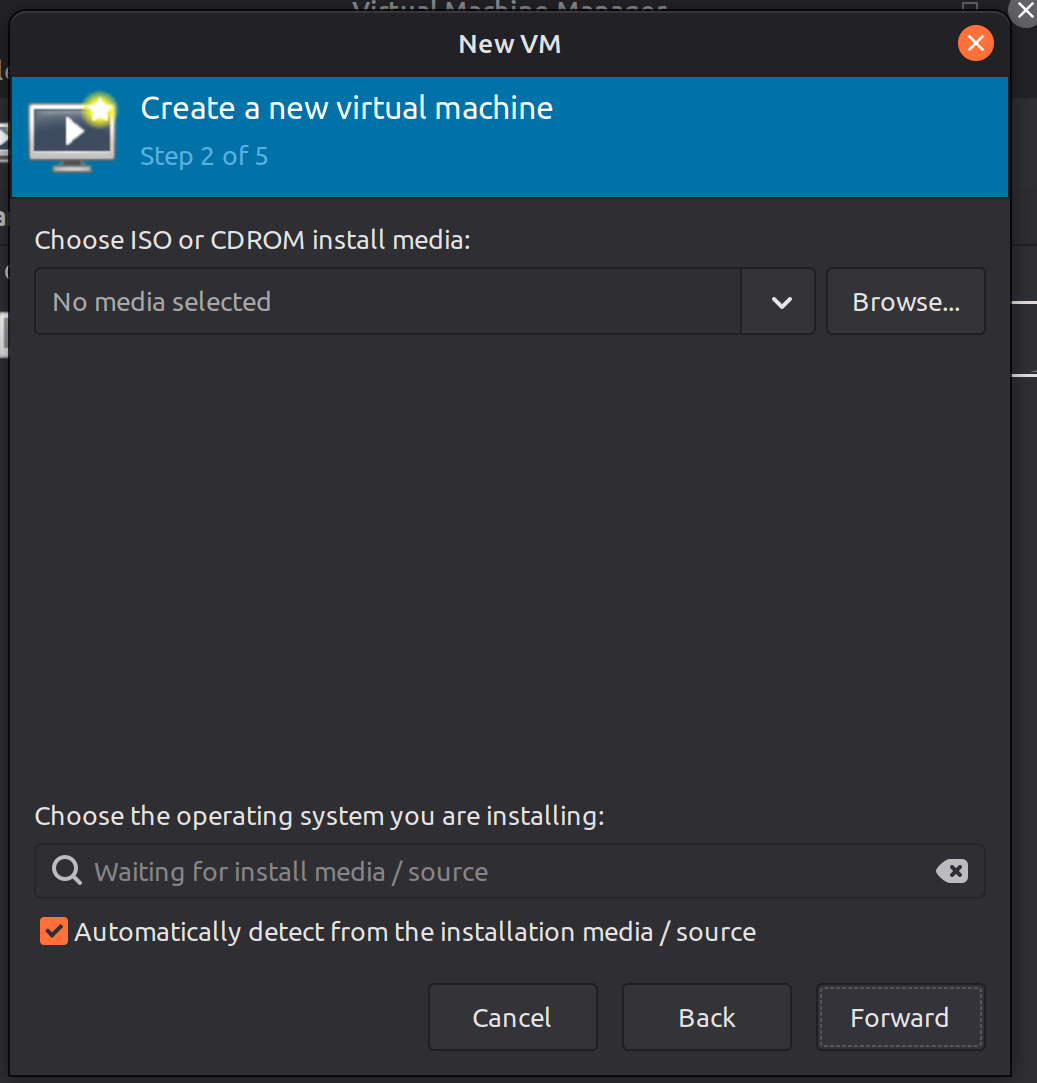 Choosing ISO for the VM
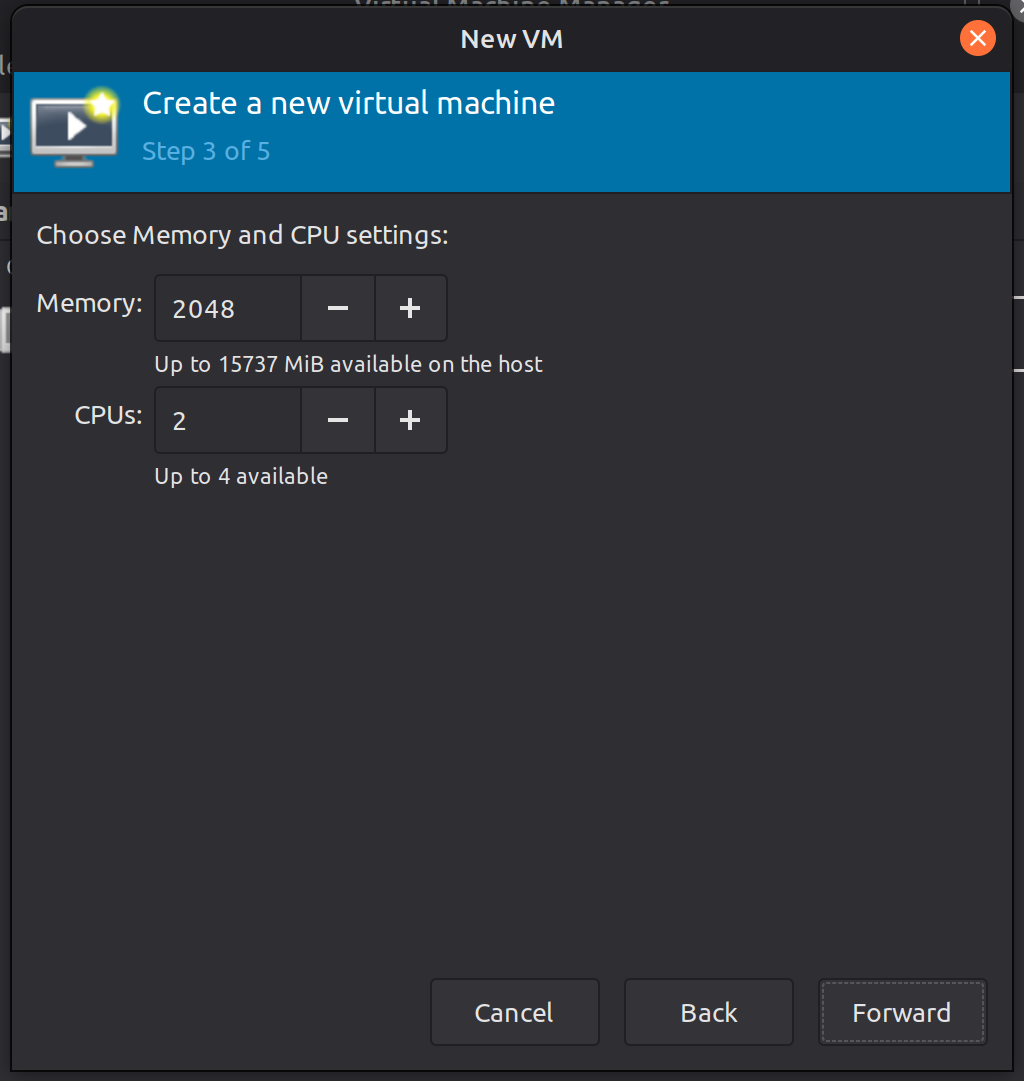 Setting Up Memory & CPU Specification
 Setting Up VM Storage
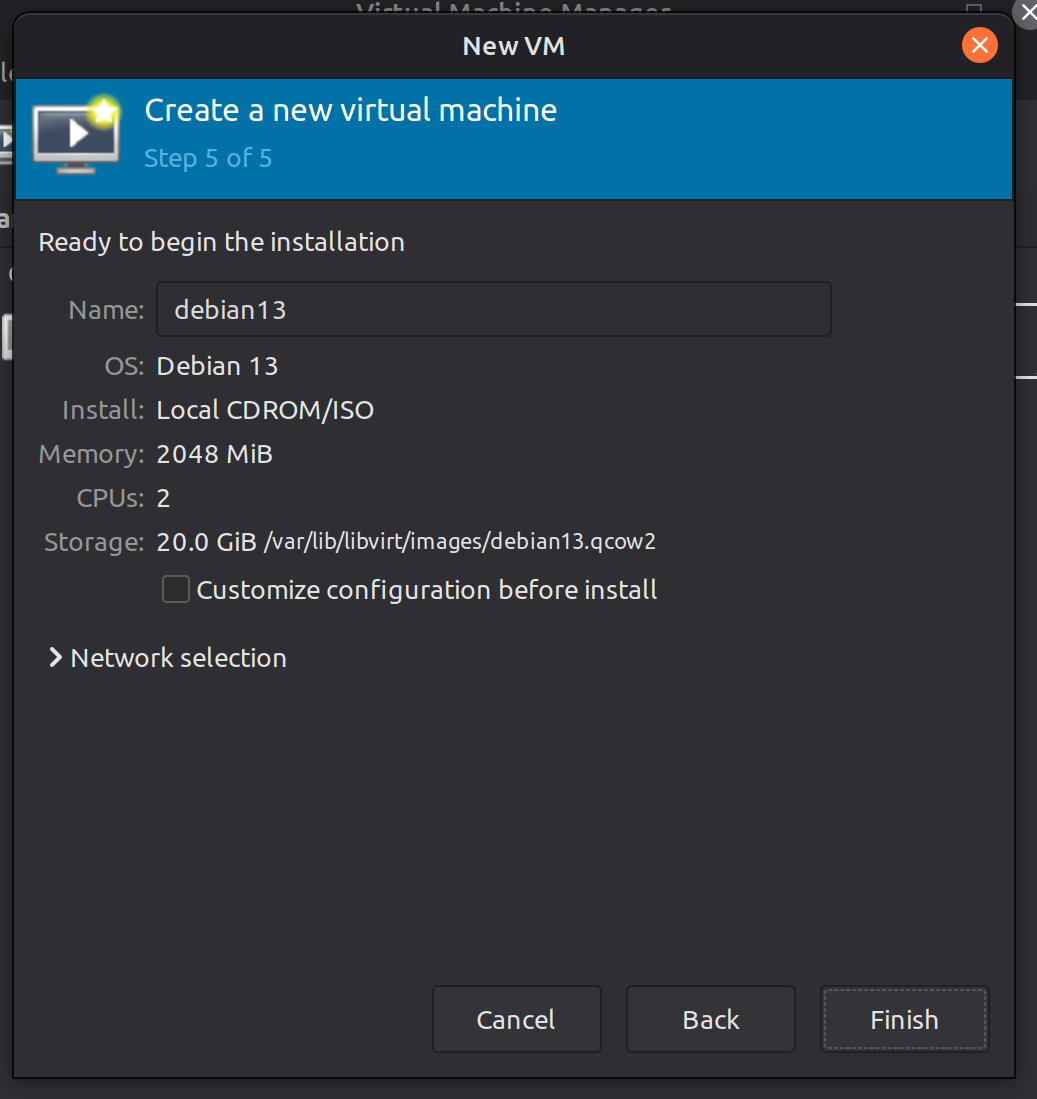 Settings Overview and VM Rename
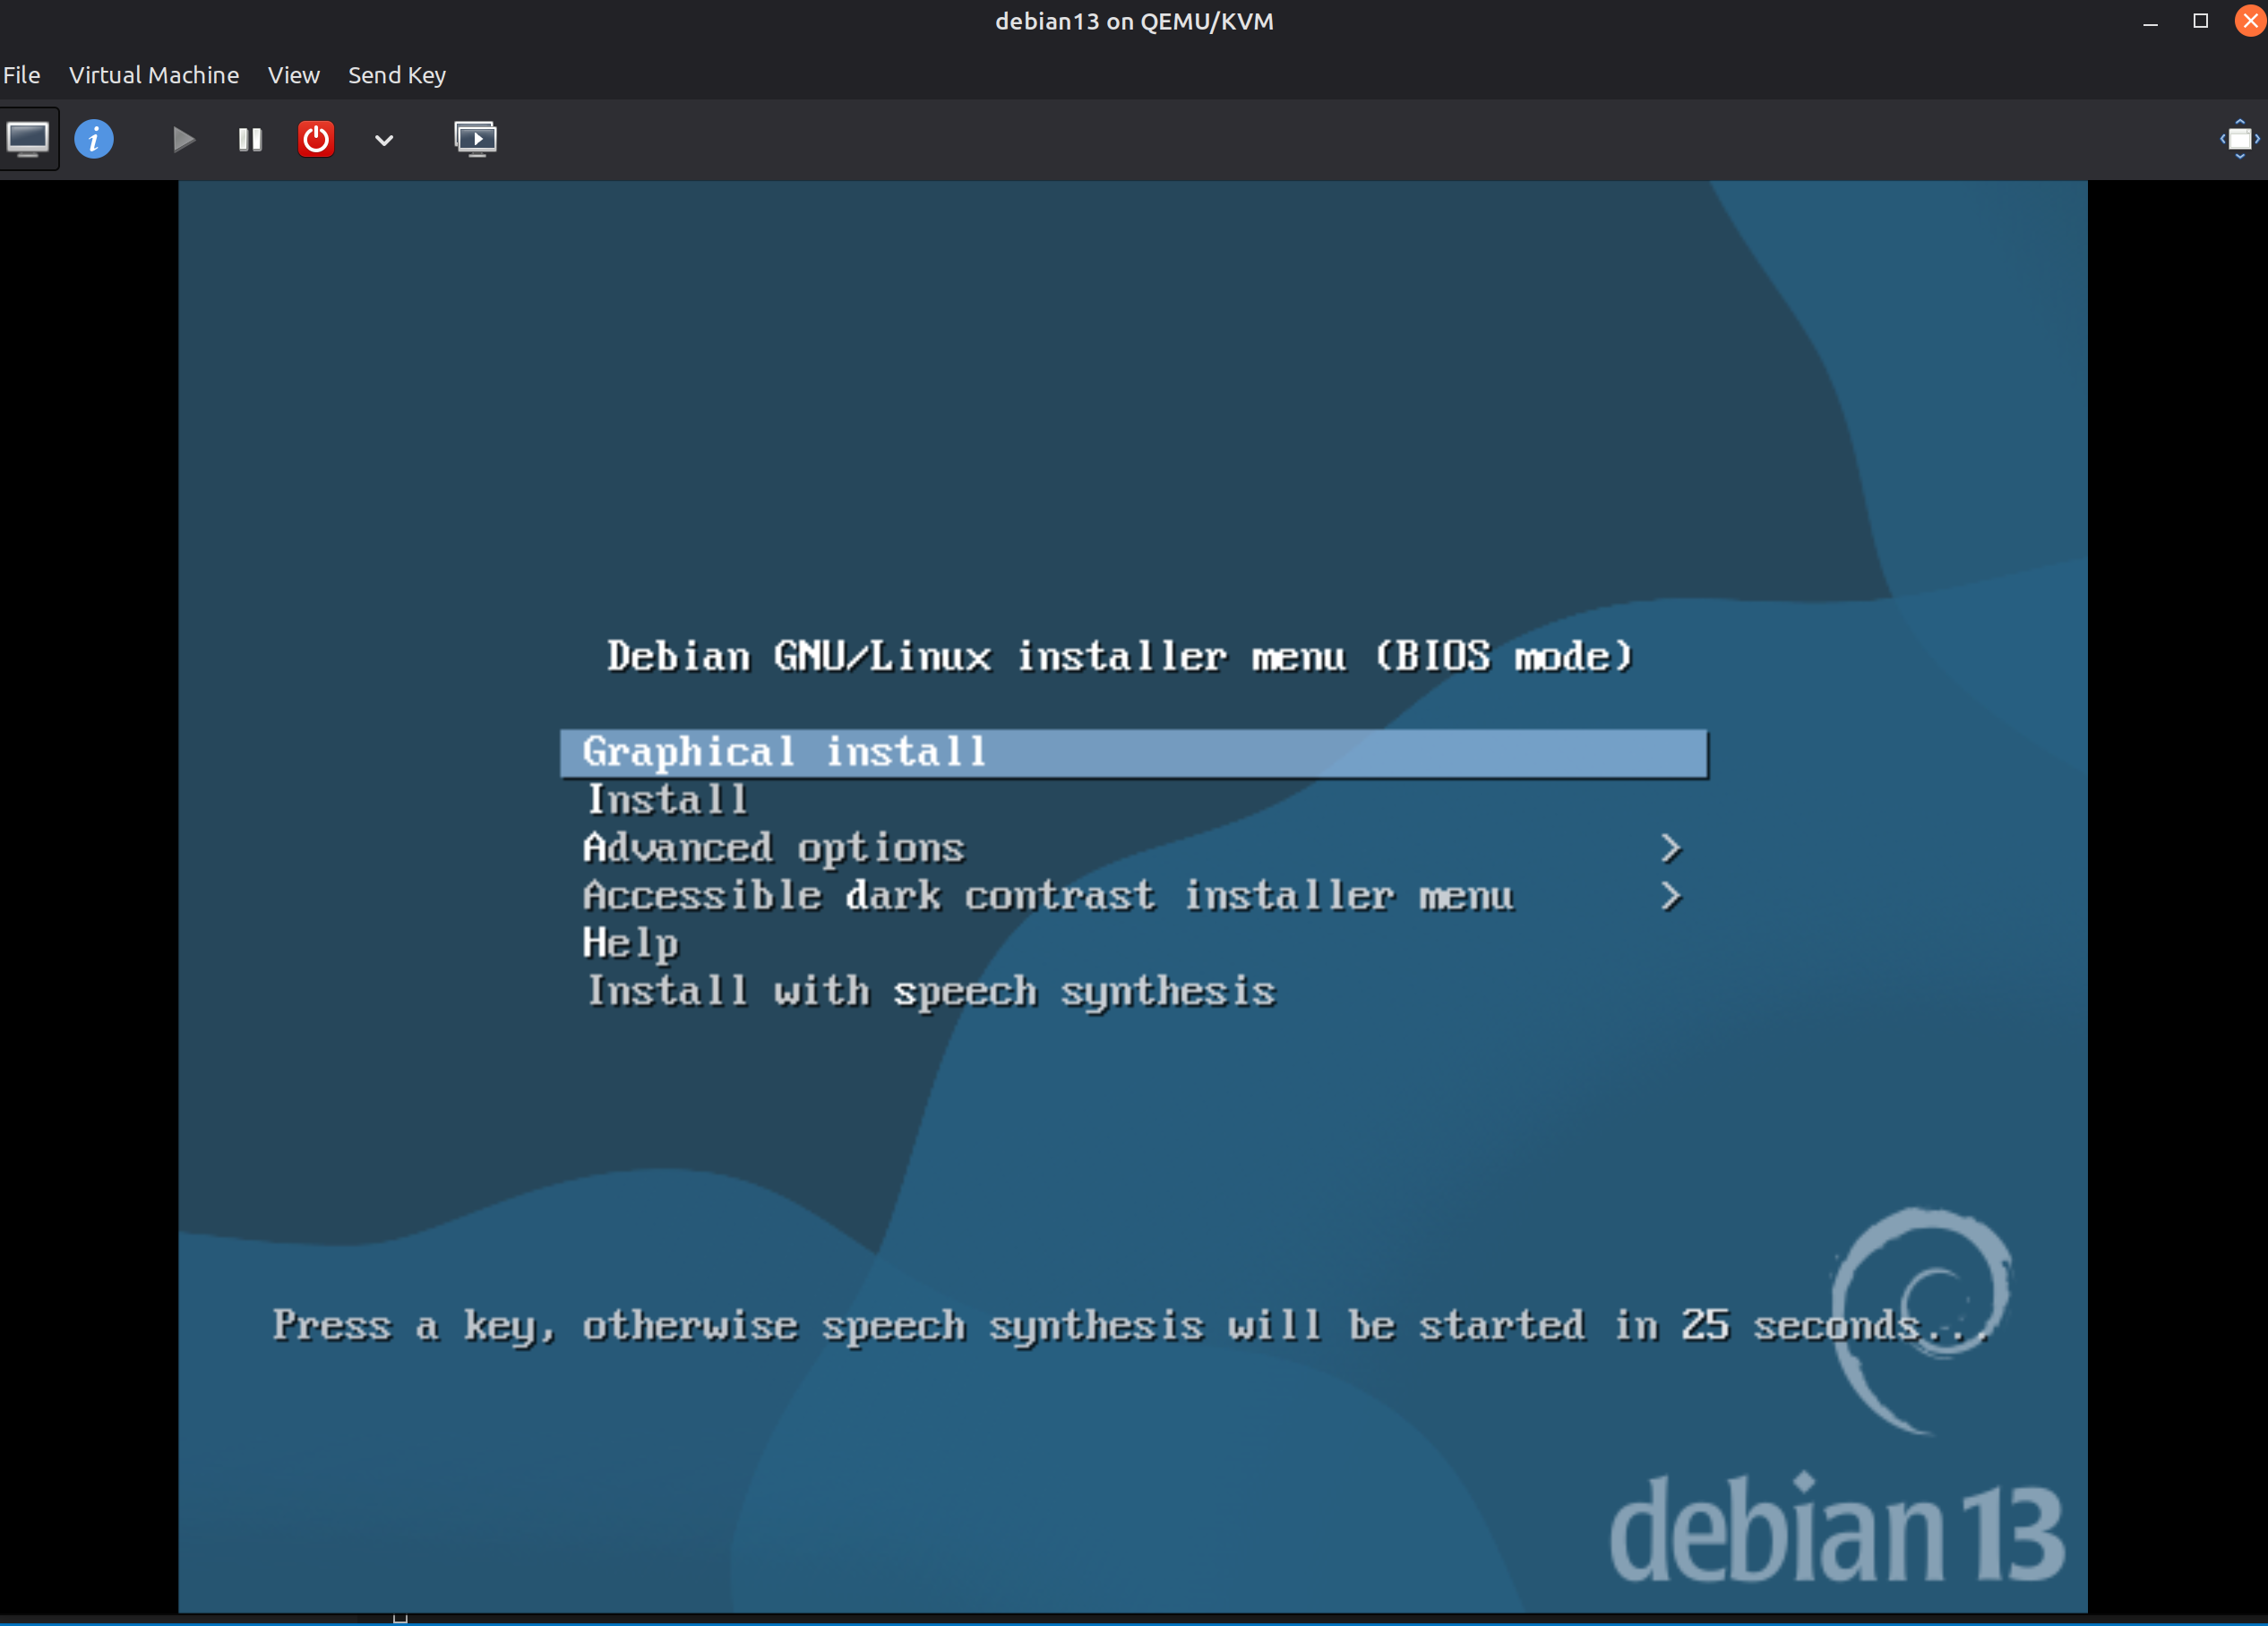 Deploy VM Finished
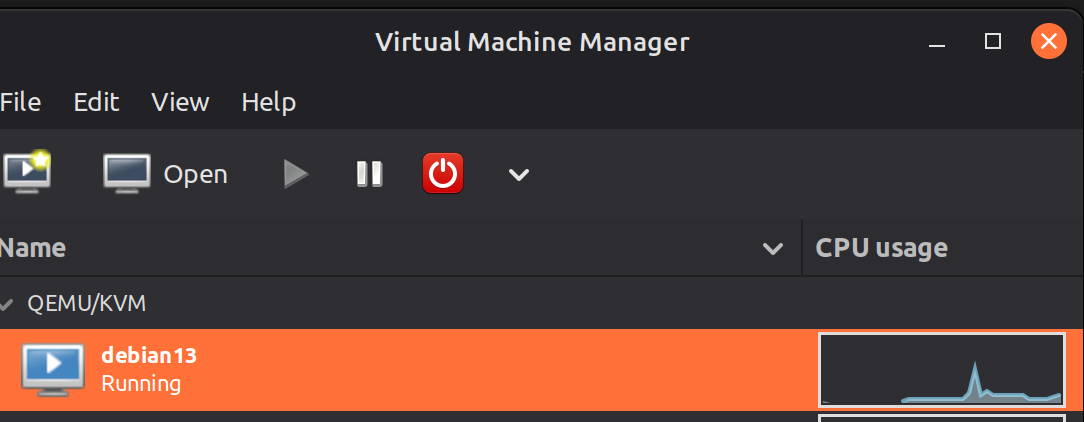 New VM Deployed in VMM
Conclusion
VM are deployed, and it’s running!.
With that being said, feel free to create more VMs, break it, redeploy it, and test it.
Do whatever you want!.